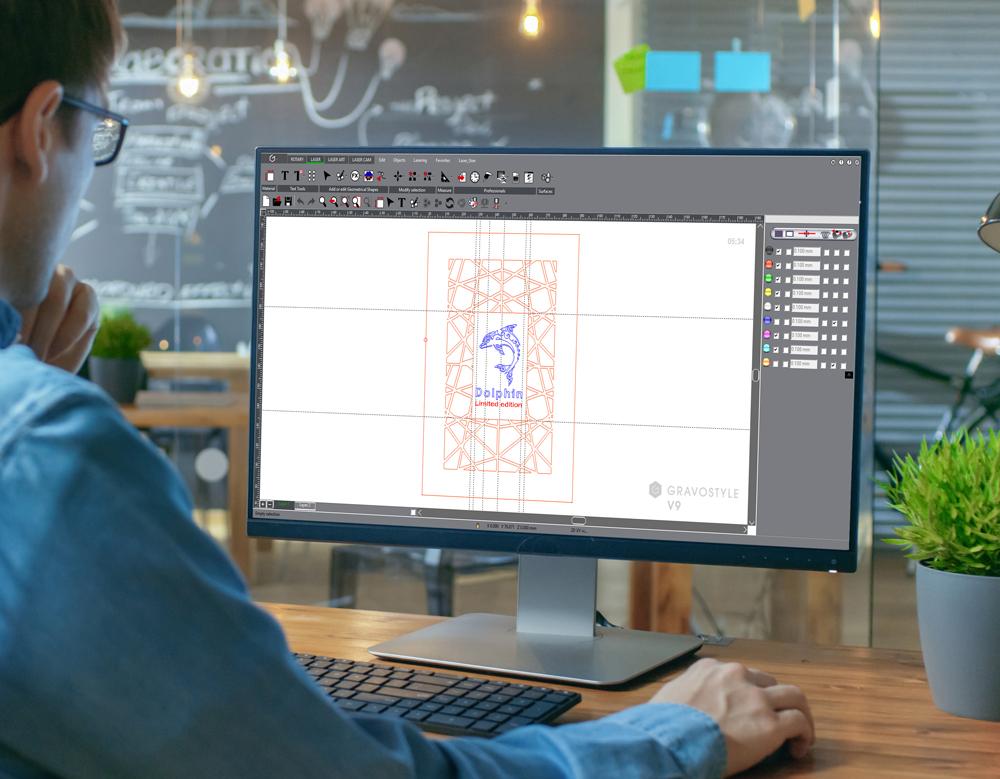
When it comes to engraving and cutting your materials, you can't get started without software. You've never used engraving or design software, and that worries you? Rest assured, Gravostyle™ software is easy to learn and can work in combination with other design and graphic software.

The role of software in engraving and cutting
Engraving software, and its functionalities, are quite similar to printing software.
- It lets you create and/or design anything you want. You can define the visual or simply write text.
-
You can configure the machine according to your needs:
- Define the elements to be engraved and those to be cut;
- Define engraving depth for mechanical machines.
- It allows you to transmit your plan to the machine so that it can engrave it.
The engraving software is designed as a bridge between your creation and your engraving or marking machine, facilitating the process and ensuring accurate results that meet your expectations.
What is Gravostyle™?

|
|---|
Gravostyle™ is a proprietary software solution developed by Gravotech since 1998. Enriched in close collaboration with its customers and users, it is constantly evolving to meet the needs of engravers.
For users who own both laser and mechanical machines, this software allows both technologies to be controlled from the same interface.
In contrast to other engraving and cutting machine control solutions, which are often limited to setting parameters and sending files, Gravostyle™ integrates creative features.
Gravostyle™ enables:
-
design plans, designs, text and manage photos;
-
set up engraving options;
-
send your work directly to the machine.
Why use Gravostyle™?
Gravostyle™ offers a range of practical and advanced features for engravers. They are specific to the world of engraving and cutting, and cannot be found in conventional design software.

« Matrix » mode
This creative feature is ideal for mass production. It allows you to duplicate a consolidated element following a grid and/or use dynamic duplication, where the text changes with defined variables, to send several engravings at once. For example, the cutting shape is identical but the engraved text differs.

The parameter library
Gravostyle™ enables automatic machine settings based on the Gravotech material being used. For laser machines, this includes power and speed, while for mechanical machines it includes the parameters of the cutter and other tools.

Engraving preview
This feature offers a preview of your work before engraving, allowing you to check and adjust details so that the result meets your expectations.

« Nesting » functionality
Thanks to this feature, you can nest shapes automatically to optimise the use of cutting material, thus reducing waste.

« Point & Shoot » functionality
This feature is available for both laser and mechanical machines, and uses a red pointer to help with positioning but also with measuring dimensions. It allows you to define a physical engraving sone directly on the object, and then transmit the information into Gravostyle™.
Why and how to link design software with Gravostyle™?
As explained above, Gravostyle™ allows you to drive Gravotech machines and create designs and text to be engraved. But it can also be combined with design software dedicated to graphic or technical creation such as CorelDRAW, Adobe Illustrator, AutoCAD®, or SolidWorks. Once you've created your design, simply import it and set it up for engraving.
The Gravostyle™ interface can be used as a setup or engraving send software only. This means you don't have to learn how to use new software: a considerable time-saver, if you're already proficient with another design software.
To take full advantage of your design software and Gravostyle™, you can import many compatible formats:
- .dxf,
- .pdf,
- .ai...
By saving your file in a vector format, you can import it directly into Gravostyle™ without having to recreate the plan.
Whether you use Gravostyle™ for engraving or cutting, you can configure everything that needs to be marked or cut before sending it into the machine:
- parameters,
- power,
- speed,
- depth...

|
Focus on graphic software Gravostyle™ uses colour codes to identify machine actions:
If the colour codes are correctly set in your design software, they will automatically be taken over by Gravostyle™ when importing, which represents a significant time-saver. |
|---|
Laser engraving: send your engraving directly from your design software
With the "Print Driver" function that interfaces with any graphic design software, Gravotech lets you send the engraving or cutting file directly to the machine without going through the Gravostyle™ software. Simply use the "File > Print" command.
Note: Point & Shoot is not available via the Print Driver, yet its use allied to that of Gravostyle™ makes positioning operations simpler and faster, particularly for object customisation.
In signage or creation, positioning is not a priority, as we're mainly working with the material. The important thing is to make sure that the cutting or engraving is done on the material, making the use of the laser table simpler and faster.

Print Driver functionality is not compatible with mechanical machines. For engraving and cutting via this technology, it is necessary to use Gravostyle™ to manage tool paths and send instructions to the machine. |
Usage of the Gravostyle™ driver
Gravostyle™ is a flexible software package, designed in collaboration with its users. After more than 25 years of continuous development, its reliability and adaptability continue to prove its legitimacy in the field of machine control. All this, to suit all types of use. It's easy and intuitive to use, and its full range of functions will help you save time and improve the efficiency of your engraving and cutting activity.


